This baby shower was very near and dear to my heart because it was for my closest friend Amy. Amy and I both love beautiful details, so I wanted to make this a very special party to celebrate their soon-to-arrive baby Hayley. This was a very DIY baby shower brunch. I was on a tight budget, so I was determined to hand-make everything that I could.
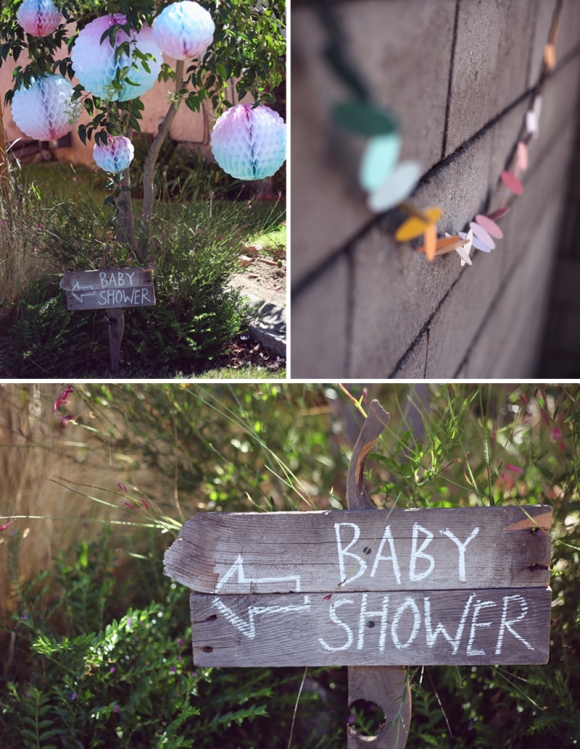
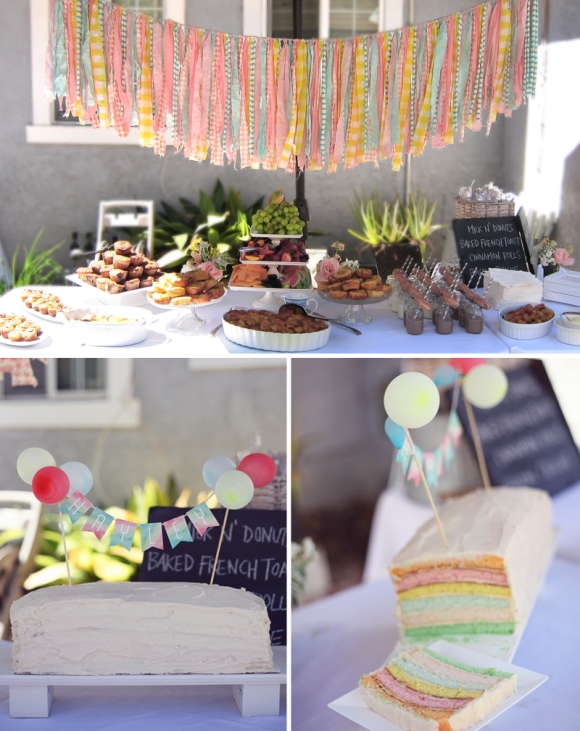
I took my inspiration from some vintage italian watercolored crepe paper party decorations that I found on Etsy. I became obsessed with finding some, but since they were vintage and seemingly one of a kind, I decided to create my own. I ordered white crepe paper balls online and used watercolors to delicately hand-paint them to match my palette. The styling of the baby shower slowly evolved into a vintage watercolor-esque affair. I found some inexpensive textile fabrics in varying patterns that fit nicely into my palette, and I tore them into strips and tied them to a string to create a backdrop for the buffet table. The paint chip garland was an easy and very cheap piece of decoration. I used a scalloped hole punch to create circles from paint swatches I picked up (for free!) at a hardware store. I glued them back-to-back with a string in between. The extra paint chips were scattered around the floral centerpieces to add some color to the white tablecloths.
I created a few chalkboard signs with plywood and chalkboard paint that I picked up from the local hardware store. That chalkboard paint is one of my new favorite craft supplies! I also used a wooden sign and two wooden jewelry boxes which I found at the craft store for under $5 to glue together a long white cake stand. I created little watercolor flags and small colored water balloons filled with air for the sign on the cake.
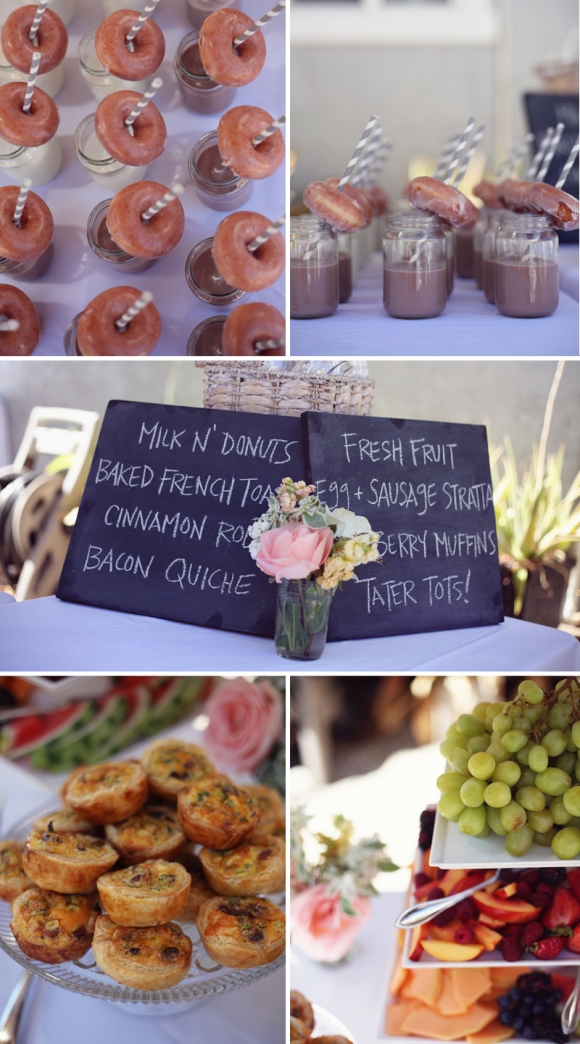
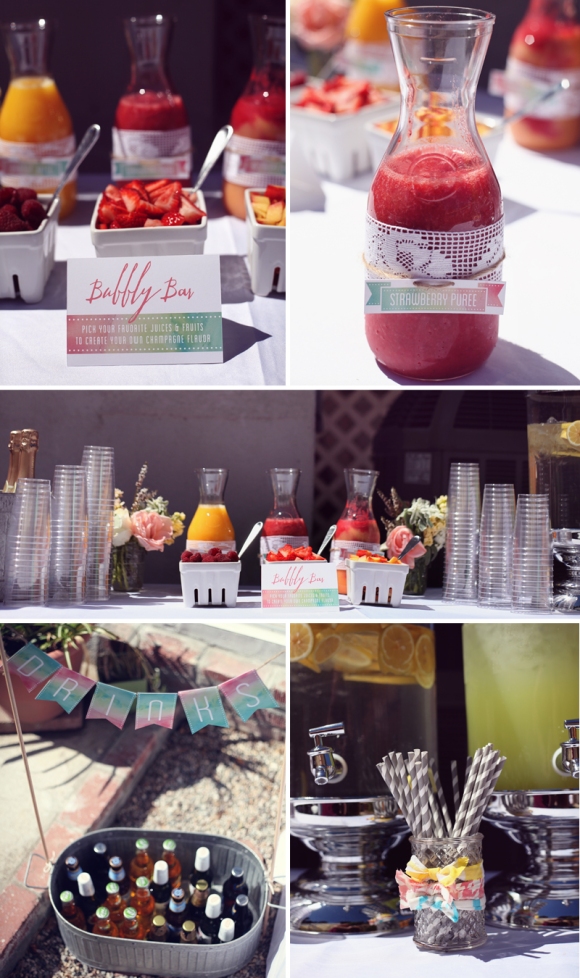
All of the food was homemade by myself and a few of our close friends who helped out, except for the Krispy Kreme donuts of course. I’d been saving baby food jars for months, so we served chocolate milk in the jars adorned with a paper straw and mini donut through the straw. They were a huge hit! On the menu was sausage & egg strata, muffins, a brown-sugar french toast bake, tater tots, mini quiches, cinnamon rolls and fresh fruit. For our beverage table, a “bubbly bar” with champagne, fruit puree and fresh fruit, as well as some non-alcoholic mixers for our preggo guest of honor.
The invitations and all the paper goods I designed and printed myself. Using watercolors, I painted several pages of ombre colors, which I used for all of the backgrounds on the invitations, signs, labels and flags. I used the extra watercolored paper to punch scalloped circles and assemble a watercolor chandelier for baby Hayley’s nursery. For the guest table, I used my grandma’s vintage wooden hutch. I designed “wishes for Hayley” cards for guests to write and clip onto fabric streamers hanging from tree branches. I also created a Meal Train sign up sheet that coordinated with all the paper goods from the party, and guests were able to sign up to bring Amy and Josh meals once Hayley arrived.
Overall, the baby shower was a beautiful event and I greatly treasure having the opportunity to host this for Amy.
If anyone is interested in some of the crafts, DIY Tutorials are up on my blog:
Long Pastel layered cake
Watercolor Chandelier
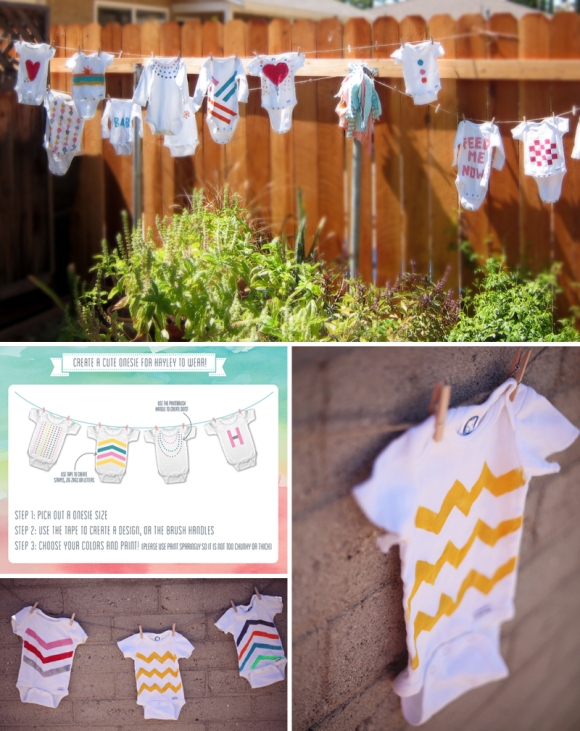
Painted Onesies
Watercolor Party Decor + Paper goods
Paint Chip Garland
Baby Food jars for Donuts (how to get the sticky gunk off! :)
Credits:
Party planning + decor: eyeheartprettythings
Flower arrangements: Jessica Burns
Photography: Amy Stone Photography
Paper goods + Invitations: eyeheartprettythings
Donuts: Krispy Kreme
Craft supplies: Michael’s and Home Depot
Food: eyeheartprettythings , Jessica and friends


